19 October 2010

Pumpkin bread

2 remarks


I have been a baking fool as of late, taking advantage of the season's harvest.  My favorite quick bread of the moment is Alton Brown's pumpkin bread.  I am a big fan of the flavors of pumpkin bread, but I normally find it too dense and chewy.  Not AB's though, by utilizing fresh pumpkin, this bread breaks the mold and takes pumpkin bread to another level.

I have not found success using canned pumpkin when making pumpkin bread.  It never seemed to bake quite right, and the flavors fell a little flat.  The fresh pumpkin is a revelation, and lends the bread a lightness softness, and fluffiness while maintaining that wonderful pumpkin flavor.  Plus, it's really no different than shredding some carrots for carrot cake or zucchini for zucchini bread.  Definitely worth the effort.

The recipe posted below is taken from the Food Network website.  I have the advantage of also owning the book Good Eats: The Early Years in which Alton Brown shares some tips for the recipe.  In the book, the directions have you dump the shredded pumpkin onto a kitchen towel and twist into a ball to wring out as much water as possible.  As for the pumpkins seeds, also known as pepitas, be sure to use seeds that have had their hulls removed.  Do not use the unhulled seeds that come out of a standard jack-o-lantern pumpkin (a mistake I made the first time I made it). 

With the addition of those helpful hints your pumpkin bread should turn out quite delicious.  The bread is so good, you can eat it plain; though, I have been known to spread some cream cheese on a slice ever now and then.


Pumpkin Bread
Recipe courtesy Alton Brown

Ingredients
2 cups all-purpose flour
2 teaspoons cinnamon
1 teaspoon baking soda
1/4 teaspoon baking powder
1/2 teaspoon salt
1 1/2 cups sugar
3/4 cup vegetable oil
3 large eggs
1 teaspoon vanilla extract
3 cups (one pound) shredded fresh pumpkin
1 cup toasted pumpkin seeds

Directions
Preheat the oven to 325 degrees F.

Sift the flour, cinnamon, baking soda, baking powder, and salt together.

In a separate bowl, mix the sugar, vegetable oil, eggs, and vanilla. Combine both mixtures and fold in the shredded pumpkin and pumpkin seeds. Once the ingredients are all incorporated pour into a non- stick 9 by 5 by 3-inch loaf pan. If your pan is not non- stick coat it with butter and flour.

Bake for 1 hour and 15 minutes. At this point a knife inserted into the middle of the loaf should come out clean. Cool for 15 minutes and turn out onto a cooling rack. Cool completely.

12 October 2010

Sugar Cream Pie

2 remarks

Considered an "Indiana legendary local cuisine", this pie is so delicious.  Sweet, rich, and creamy, sugar cream pie does not disappoint.  I never knew this pie was a Hoosier delicacy until I was visiting my dad in Louisville and he took me to The Pie Kitchen.  I was craving a piece of sugar cream pie and they didn't have it on the menu.  When I asked the server about it, she looked at me like I was crazy, and said she had never heard of it.  I was surprised that they didn't have it, and baffled that someone had never heard of sugar cream pie.  It was then that my dad told me that sugar cream pie was local to Indiana, so some places outside of the state may not serve it.  I realized how lucky was to be a Hoosier.

We used to buy sugar cream pies, but the pie shop where we purchased them moved and it prompted me to try me own.  I tried a couple different recipes without much success.  The flavor was where I wanted it to be, but the pies turned out runny.  I finally found a recipe on allrecipes.com that was a winner.  I have tried it a couple times with great results.  Smooth, sweet, rich and creamy with hints of vanilla and nutmeg.  A perfect autumn pie, and quite easy too!

Print Recipe

Sugar Cream Pie
Recipe courtesy Glenda Browning

Ingredients
1 prepared 9 inch pastry shell
1 1/2 cups white sugar
1/2 cup all-purpose flour
1 cup heavy whipping cream
3/4 cup whole milk
1 teaspoon vanilla extract
1/4 teaspoon ground nutmeg
1/4 cup butter, chilled and diced

Directions
Preheat oven to 450 degrees.
In a medium bowl, mix together sugar, flour, and cream. Add milk and vanilla extract, and continue to stir until mixture is smooth. Pour into pastry shell. Sprinkle top with nutmeg and dot evenly with small chunks of butter. Bake in preheated oven for 15 minutes. Reduce heat to 350 degrees and bake an additional 45 minutes.

06 October 2010

What to do with that leftover pie crust

2 remarks

With every pie crust, there is inevitably some excess dough left over after trimming the edges around the pie plate.  Now, this stuff is simply too good to just throw it away, so why not make an extra little treat with it.  When I was young, I remember Nonna rolling out the leftover pie crust dough, sprinkling it with cinnamon and sugar, and baking it.  Talk about delicious!  I have adopted this method for my leftover crust, too. 

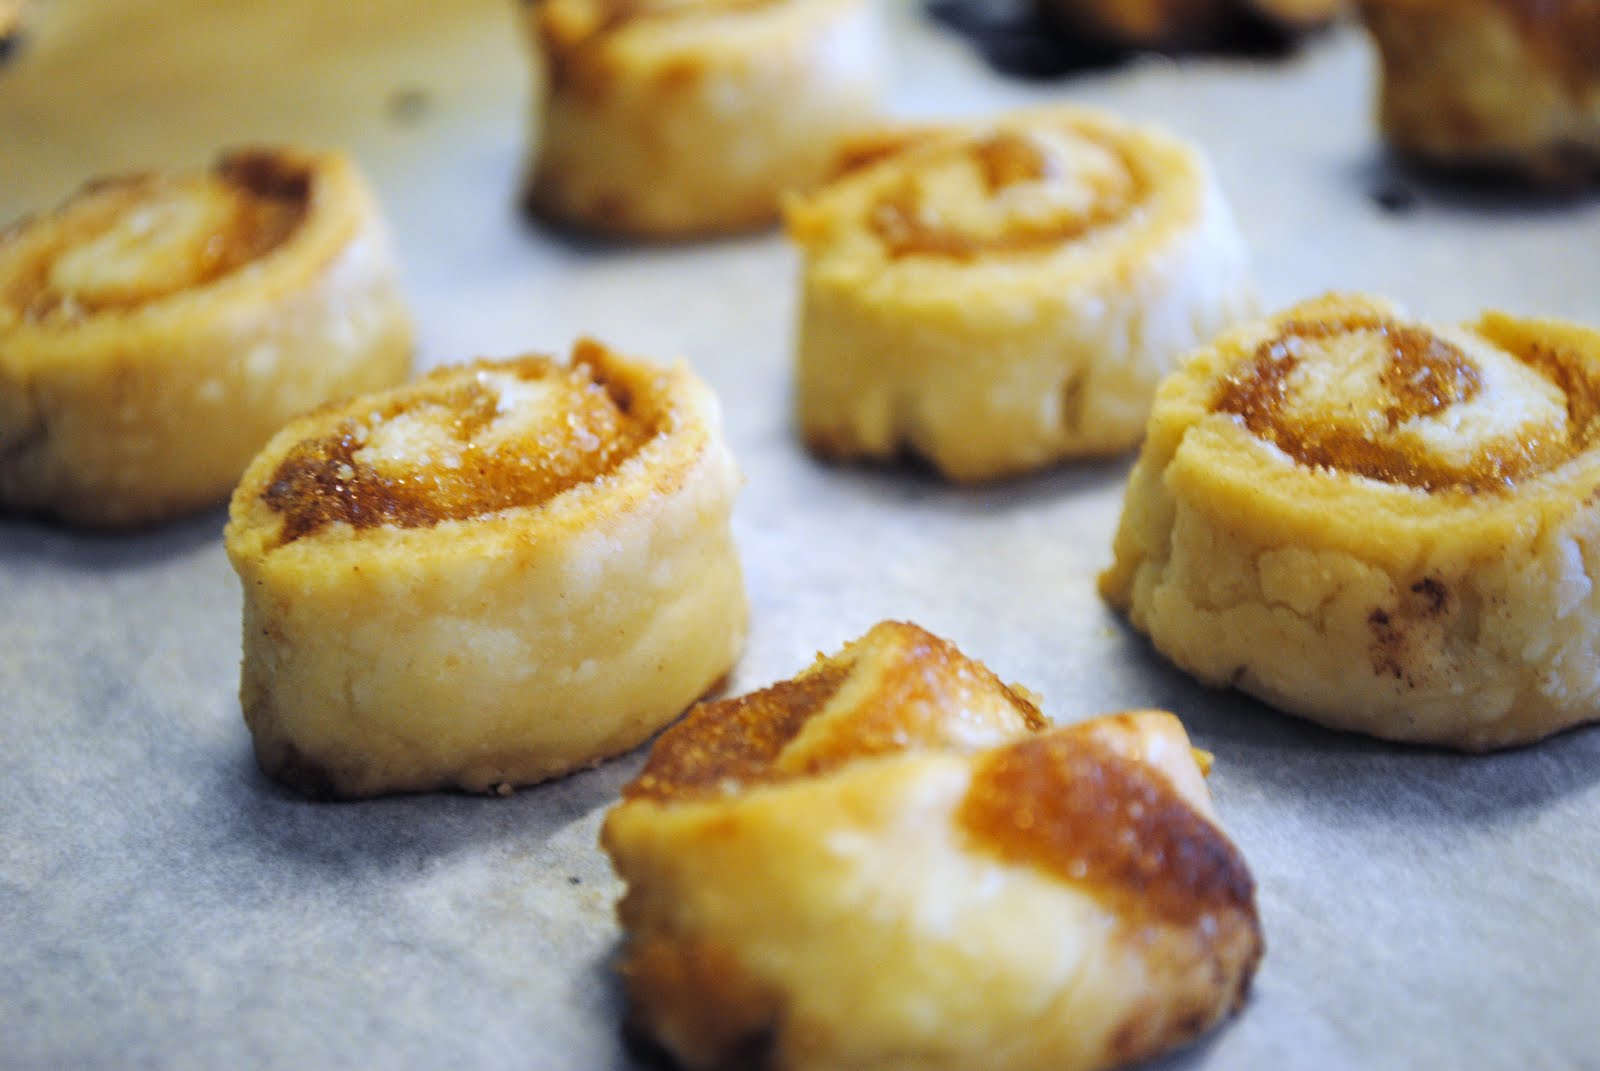
With my last pie, I decided to try something new with my leftover crust dough.  Instead of baking it flat, I rolled the dough after sprinkling it with cinnamon and sugar.  I then cut the rolled dough into half inch rounds so they resembled little cinnamon rolls and baked them on some parchment paper.  It worked like a charm.  They pretty much tasted the same as the flat crust, but it was so fun to eat those miniature cinnamon rolls.

03 October 2010

Pie crust (a tutorial)

5 remarks
It is my opinion that pie crust is just as important as the filling; and if true pie bliss is to be achieved, one must make his or her own crust.  It's a simple thing, really, just flour, salt, fat and water.  Yum!  Knowing how to put it all together is the tricky part, but a little practice and know how can go a long way. 

I have been making my own pie crust since Nonna gave me her apple pie recipe.  My first attempts at making it were a bit shaky, and I remember being very frustrated at times.  My lowest point was when I was making a pie and the pie dough kept falling apart; I angrily wadded the dough into a ball and started kneading it.  The dough came together quite nicely and the crust looked perfect on the pie, but the crust was tough.  So tough, that people didn't hesitate to tell me, my own family no less.  I was devastated, but determined to learn the art of the pie crust, and never let mine be tough again.

It wasn't until I watched the Good Eats episode "I Pie", that I truly understood why I was doing what I was doing when I made pie crust.  I finally learned how to achieve the perfect balance between tender and flaky, and my pie crust became consistently good.  I love making my own pie crust because it really does take homemade pie to another level of goodness.  Whenever I take a pie to a gathering, someone inevitably comes up to me and says, "I love your pie crust, and I don't even like pie crust."  That's enough motivation for me to keep making my own.

I use Alton Brown's recipe for my pie crust.  I use the same ingredients he calls for, though my technique varies from his slightly.  The ingredients are quite simple:

1/4 cup unsalted butter (cut into cubes)
1 ounce lard (more on that later...don't be scared)
6 ounces all-purpose flour
1/2 teaspoon salt
Ice water

I know some people may be a bit squeamish when it comes to lard, so I'll let AB explain:

Nothing affects the nature of the crust more than the fat that goes into it.  Butter has a very low melting point, so it doesn't make a very flaky crust, and it also contains some water, which can definitely throw off your formula.  At the same time, nothing browns or tastes better.  So I'm definitely going to use some of this.  But I'm also going to use lard.  Rendered pig fat has a very high melting point, and a really coarse, crystalline structure, which means that it is ideal for making flaky crusts.  And you'll be surprised to know that lard is even lower in cholesterol and saturated fat than butter is.

Now that we got that out of the way, let's discuss assembly.


I have grown accustomed to making my pie crust in a food processor, so that is how I will present it; though it is by no means necessary to the assembly.  Also, the pictured ingredients are for two pie crusts, since I was making an apple pie. 

Begin by placing the flour and salt in the food processor bowl and pulse a couple times.  Add the butter and pulse 5 or 6 times; then, add the lard and pulse another 3 or 4 times until the mixture looks mealy.  The goal is to have very small pieces of butter and somewhat larger pieces of lard.


Next, comes the water.  I like to drizzle the water through the top of my food processor while pulsing.  Do this until the dough holds its shape when squeezed together, while using as little water as possible.  I sometimes add a dash of white vinegar to the water before I add it because the vinegar prevents the gluten strands from getting too long.  It's sort of an insurance policy and the vinegar cannot be detected in the finished product.

(I may have added a bit too much water here, but the crust turned out fine)

Once the dough reaches the right consistency, dump it out on a piece of plastic wrap and squeeze together until it forms a ball; then press into a disk shape.  Place the dough disk in the refrigerator for about 30 minutes.  The point of this step is to allow for the flour to hydrate.  Hydrated flour makes it easier to roll out the dough, so please don't skip this step.


Now, place the dough on a floured piece of wax paper.  The wax paper should be long enough to be folded into a square. 


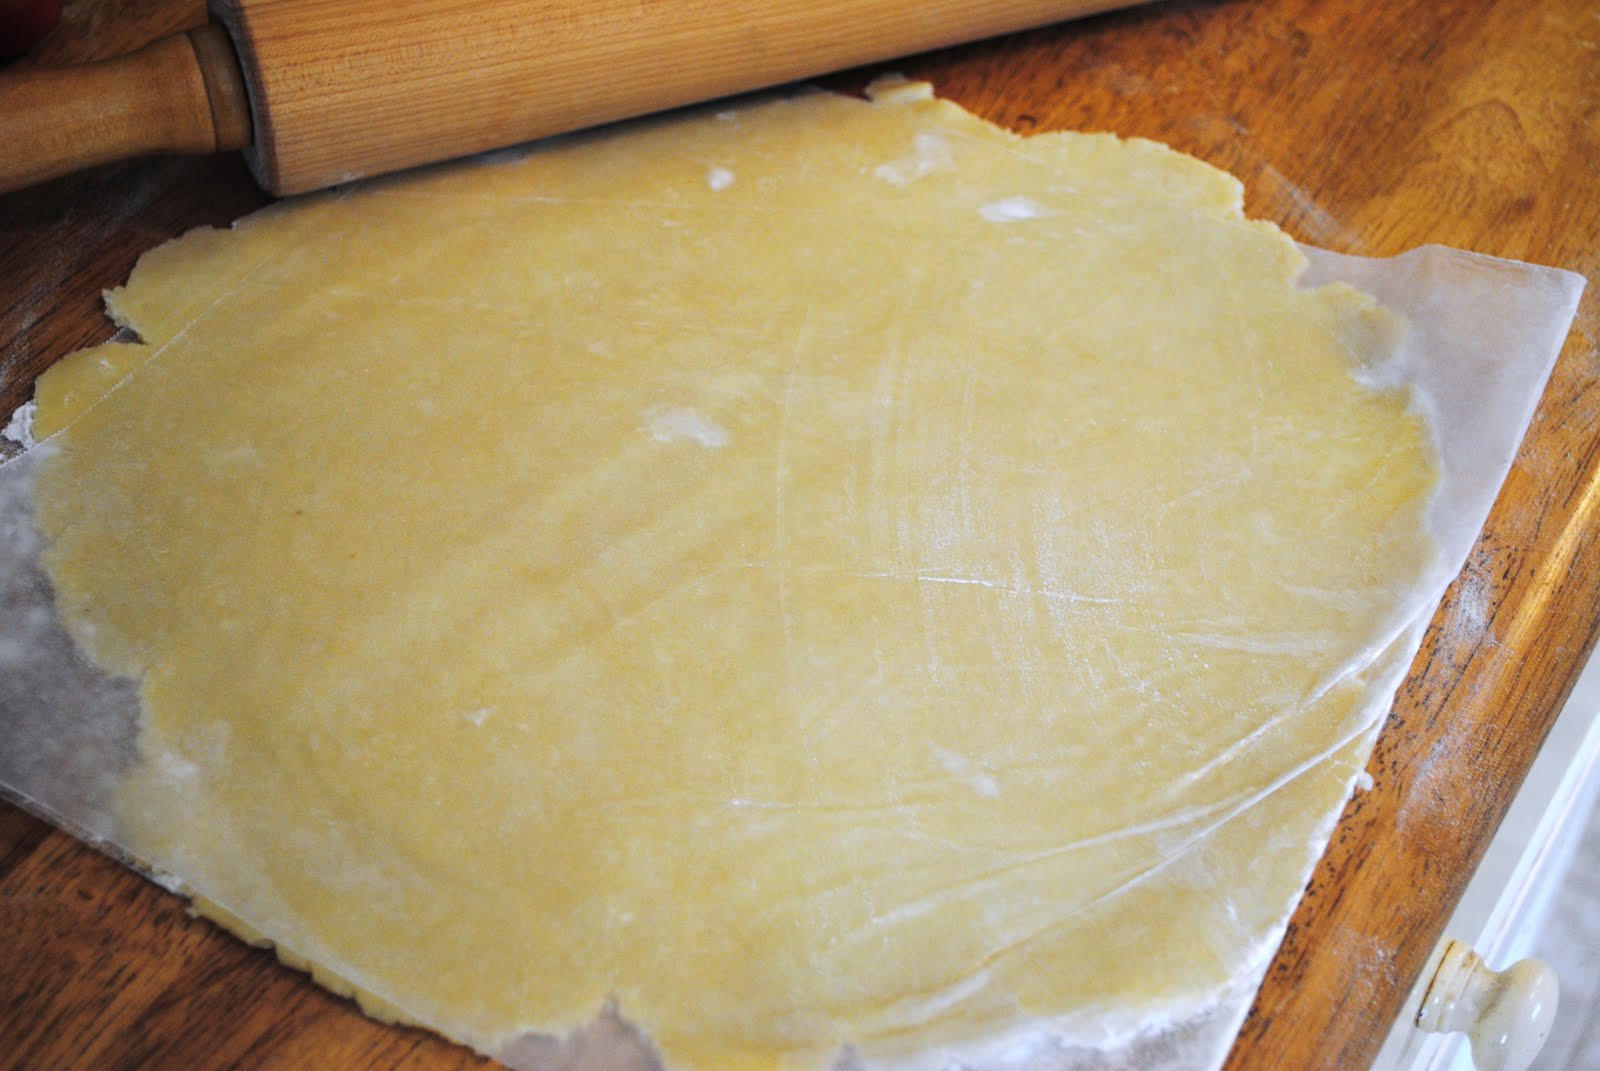
Lightly flour the top of the dough disk, and fold the wax paper over the top of it.  Then, roll out the dough until it is about 10 to 12 inches in diameter.


Once the dough is ready, remove the wax paper from the top of the dough and slide your hand underneath the bottom.  Flip the pie crust into an awaiting pie plate.


Now, remove the wax paper from the rest of the crust, and your mission is complete.


The pie crust is ready for filling.  Since this is just a tutorial on pie crust, you'll have to just imagine what the finished pie looked like.  But if you need a little help, look here.  Don't be afraid to make your own pie crust, it is definitely worth it.  Happy baking!

28 September 2010

Hello there...

1 remarks

As I was scavenging the garden a couple of days ago, I happened to notice an artichoke plant developing a little artichoke in the middle of it's leaves.  This is the first change I have seen in the artichoke plants in over two months.  I was quite excited with this latest development.  I don't know if I will get anything edible, but it's nice to know our little artichoke endeavor wasn't a total failure.  Isn't gardening fun?  Just when I thought it was over, I get this little surprise.

23 September 2010

Roasted Marshmallows

0 remarks

One of life's simple pleasures.  Even better when done with a homemade marshmallow.  There is something magical about putting a marshmallow on the end of a skewer and holding it carefully over the fire.  Watching the outside caramelize while the center becomes deliciously molten is a treat unlike any other.  Not to mention how much fun it is just to be outside by the fire for kids and adults alike.  Then, trying to navigate eating it without making a total mess.  Now, for very special occasions, one can take roasted marshmallows to another level...


S'mores.  It's amazing the difference a little chocolate and graham cracker can make.  The gooey molten center of the roasted marshmallow oozing and melting the chocolate with the sweet crunch of the graham cracker is unbelievably satisfying.

I enjoy roasting marshmallows and making s'mores in the fall when the air is crisp and cool.  It makes sitting around the fire that much more enjoyable.  Times like these make saying goodbye to summer a little bit easier.  I'd like to wish everyone a happy autumn, now go roast some marshmallows!

20 September 2010

Real tomato ketchup, Eddie?

3 remarks
Oh, nothing but the best.

All joking aside, I did make my own ketchup.  Hours of toiling over a simmering pot to make a condiment so abundant and commonplace I could go to McDonald's and grab a handful of packets for free.  So, was it worth it?  You bet it was! 

I never really thought that much about ketchup, it was just always there when I needed a dip for my fries.  A couple months ago, I wrote about my tomatoes in facebook and Jeremy commented about how he used to eat homemade ketchup.  He found a recipe for me to use, and I was all set!

I had forgotten about my desire to make ketchup until about a week ago, and I decided it was time to give it a try.  The recipe Jeremy gave me made a thinner ketchup than what is commercially available, so I altered it a bit to get the result I was looking for.  I really wanted to make a ketchup that looked like the leading brands, mainly because that is what I am used to.


I started with five pounds of tomatoes and pureed them in my food processor.  I then strained them to remove the seeds and skin.  I then pureed an onion and added it to the strained tomatoes and simmered the mixture on the stove.  Once the mixture reduced to about half, I added some vinegar and spices, and continued to reduce the mixture until it looked like ketchup.  I put the ketchup in a jar, then placed it in the refrigerator to cool.  It was really quite easy, though time consuming.


I decided to first try my ketchup with french fries.  To my delight, it looks and tastes just like ketchup.  It has a more pronounced tomato flavor, and is really quite delicious. 

16 September 2010

The Last Hurrah?

0 remarks

For all intents and purposes, this looks to be my last substantial harvest.  All in all, it's been a good year for the garden.  The move to the back of the yard worked well, and we learned a lot with the new plants we tried.  The trick will be not to forget everything over the winter...

13 September 2010

Pear-nana Bread

2 remarks

The kids love banana bread, and I am quite fond of it myself, actually.  One afternoon, I noticed a few over-ripe bananas on the counter along with a pear that was a little past its prime.  I knew I should make some banana bread, but I didn't know what to do with the pear.  Just then, a light bulb came on in my head and I decided to dice up the pear and add it to the banana bread.

My first loaf was a little too dense, but it had really good flavor.  It reminded me of a pear bread pudding fresh from the oven.  The experiment was successful enough that I decided to make another loaf, adjusting a few things from what I learned with the first one.

My second loaf was a complete success.  The bread was light, moist, and sweet.  The pears added such a nice flavor, as well as a slight textural change.  The kids ate it up too, so it passed that test.  I was also glad to find another use for pears, since I don't really have a lot of recipes that call for them.  So I figured, if I couldn't find a recipe that calls for pears, I might as well come up with one of my own.  I will be making this bread again for sure.  I hope you do, too!


Pear-nana Bread

Ingredients:
1 1/2 cups all purpose flour
1 1/2 teaspoons baking powder
1/4 teaspoon baking soda
1/2 teaspoon salt
1/2 teaspoon ground cinnamon
1/4 teaspoon ground ginger
1 egg (lightly beaten)
3/4 cup very ripe bananas (mashed)
1/2 cup diced pear
3/4 cup sugar
1/4 cup vegetable oil
1 teaspoon lemon zest

Directions:
Preheat oven to 350 degrees.  Grease and lightly flour a 8x4x2 inch loaf pan.  In a mediumm bowl sift together the flour, baking powder, baking soda, salt, cinnamon, and ginger. 

In a separate bowl, combine the egg, mashed banana, diced pear, sugar, oil, and lemon zest.  Stir until all ingredients are well combined.

Make a well in the center of the dry mix and add the banana mixture all at once.  Stir with a wooden spoon until the mixture comes together.  Do not over mix.  The batter will be lumpy.

Pour batter into prepared pan and bake in a 350 degree oven for 55 minutes or until a wooden toothpick inserted into the center of the loaf comes out clean.

Cool on a wire rack for about fifteen minutes before removing from the loaf pan. 


09 September 2010

Oh where...is my toothbrush?

4 remarks

I had never seen a toothbrush with a suction cup on the bottom of it until Ari brought one home from the dentist.  It's nice because the toothbrush can stand up on the counter without assistance.  What will they think of next?  One night I was waiting for the kids to come brush their teeth and thought it would be a good idea to stick Ari's toothbrush somewhere he would not expect to find it.  I mean, it has a suction cup on it!  Why not have a little fun?


The first time I "hid" it, Ari's face lit up when he finally found it and it soon became a mandatory procedure to hide his toothbrush every night.  I don't mind; in fact, I probably enjoy finding different hiding places as much as he likes finding the toothbrush.  It's fun to shake up oral hygiene a little bit.


Who knew brushing teeth could be so much fun?


LinkWithin

Related Posts with Thumbnails